The centralized management environment allows you to select multiple companies simultaneously and set their specific warehouses, customers, equipment, and contacts. It enables you to generate summary reports without switching interfaces, thereby simplifying daily tasks and the entire management process.
Manage multiple companies and records
Go to , then fill in your company information in the table. If Parent Company is selected, records are shared between the two companies (as long as both environments are active).

Tip
Activate Developer Mode, select a *favicon* for each company, and easily identify them via browser tabs. Set your favicon file size to 16x16 or 32x32 pixels. The supported file formats are JPG, PNG, GIF, and ICO as extensions.

To switch or select between multiple companies, you can enable their checkboxes to activate them. Grayed-out companies are those using the environment. To switch environments, click on the company name. In the example below, the user has access to three companies, two of which are activated, and the environment in use is JS Store US.

Product, contact, and device data can be shared or set to display only for specific companies. To do this, make your selection in the following format:
- Blank field : Records will be shared across all companies.
- Add Company: After logging in, users of this specific company and its subsidiaries can view this record.

Employee access permissions
After creating the company, please manage your employees' access permissions for ` *Multi-Company*.

- Current company (active company) or,
- No company set (e.g., on product and contact forms), or
- Company settings are linked to the settings of the document (same as the record being edited).
Document format
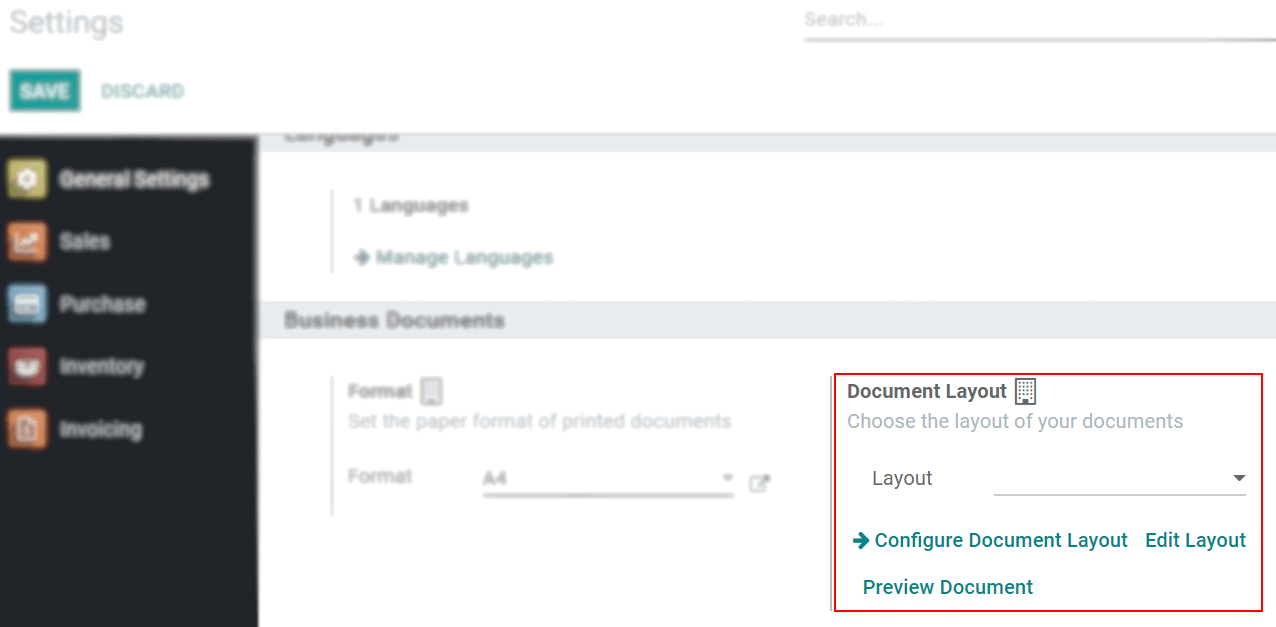
To set the document format for each company, activate and select the corresponding format, then click Configure Document Layout under Settings.
Inter-Company Transactions
First, please ensure that each of your companies is correctly set up for the following aspects:
Now, under *Settings*, activate the Inter-company Transactions option. With the respective companies set to Activated and Selected, choose whether to synchronize inter-company operations at the invoice/billing level or at the sales/purchase order level.

Sync Invoices/Bills : Generate invoices/bills when the company confirms the bills/invoices of the selected company.
Example: When an invoice from JS Store US is posted in JS Store Belgium, a vendor bill will be automatically created in JS Store US.

Sync Sales/Purchase Orders : When confirming the sales/purchase orders of the selected company, use the selected company's warehouse to draft purchase/sales orders. If you want to validate the draft instead of the drafted purchase/sales order, enable Auto Validate.
For example: When a sales order from JS Store US is confirmed on JS Store Belgium, a purchase order will be automatically created on JS Store Belgium (depending on whether the Auto-Validate feature is enabled).

Annotation
The product must be configured as available for sale.
Tip
Remember to test all workflows as a non-administrator.
本课程未启用评论功能。